5/4 × 6 pressure treated — nominal 1¼ × 6, actual 1″ × 5½″. Rated for 16″ o.c., which matches the joist spacing with no need for extra blocking.
The count
At 5½″ plus a ⅛″ gap, each board occupies 5⅝″. 120″ ÷ 5.625 = 21.3 boards.
Three ways to absorb the remainder:
| Approach | Boards | Result |
|---|---|---|
| Widen the gaps | 21 full | Gaps go to ~7/32″. No ripping |
| Rip the last one | 21 + 1 rip | One 2″ sliver at an edge |
| Rip both edges | 20 + 2 rips | Two ~3¾″ boards, symmetric |
Ripping both edges reads as intentional where a single sliver reads as a mistake. The build spec records 21 full boards at ⅛″ gaps, which is the second row; whether the last ~2″ was ripped is not recorded. Buy 24 to cover the hatch sub-frame and culls.
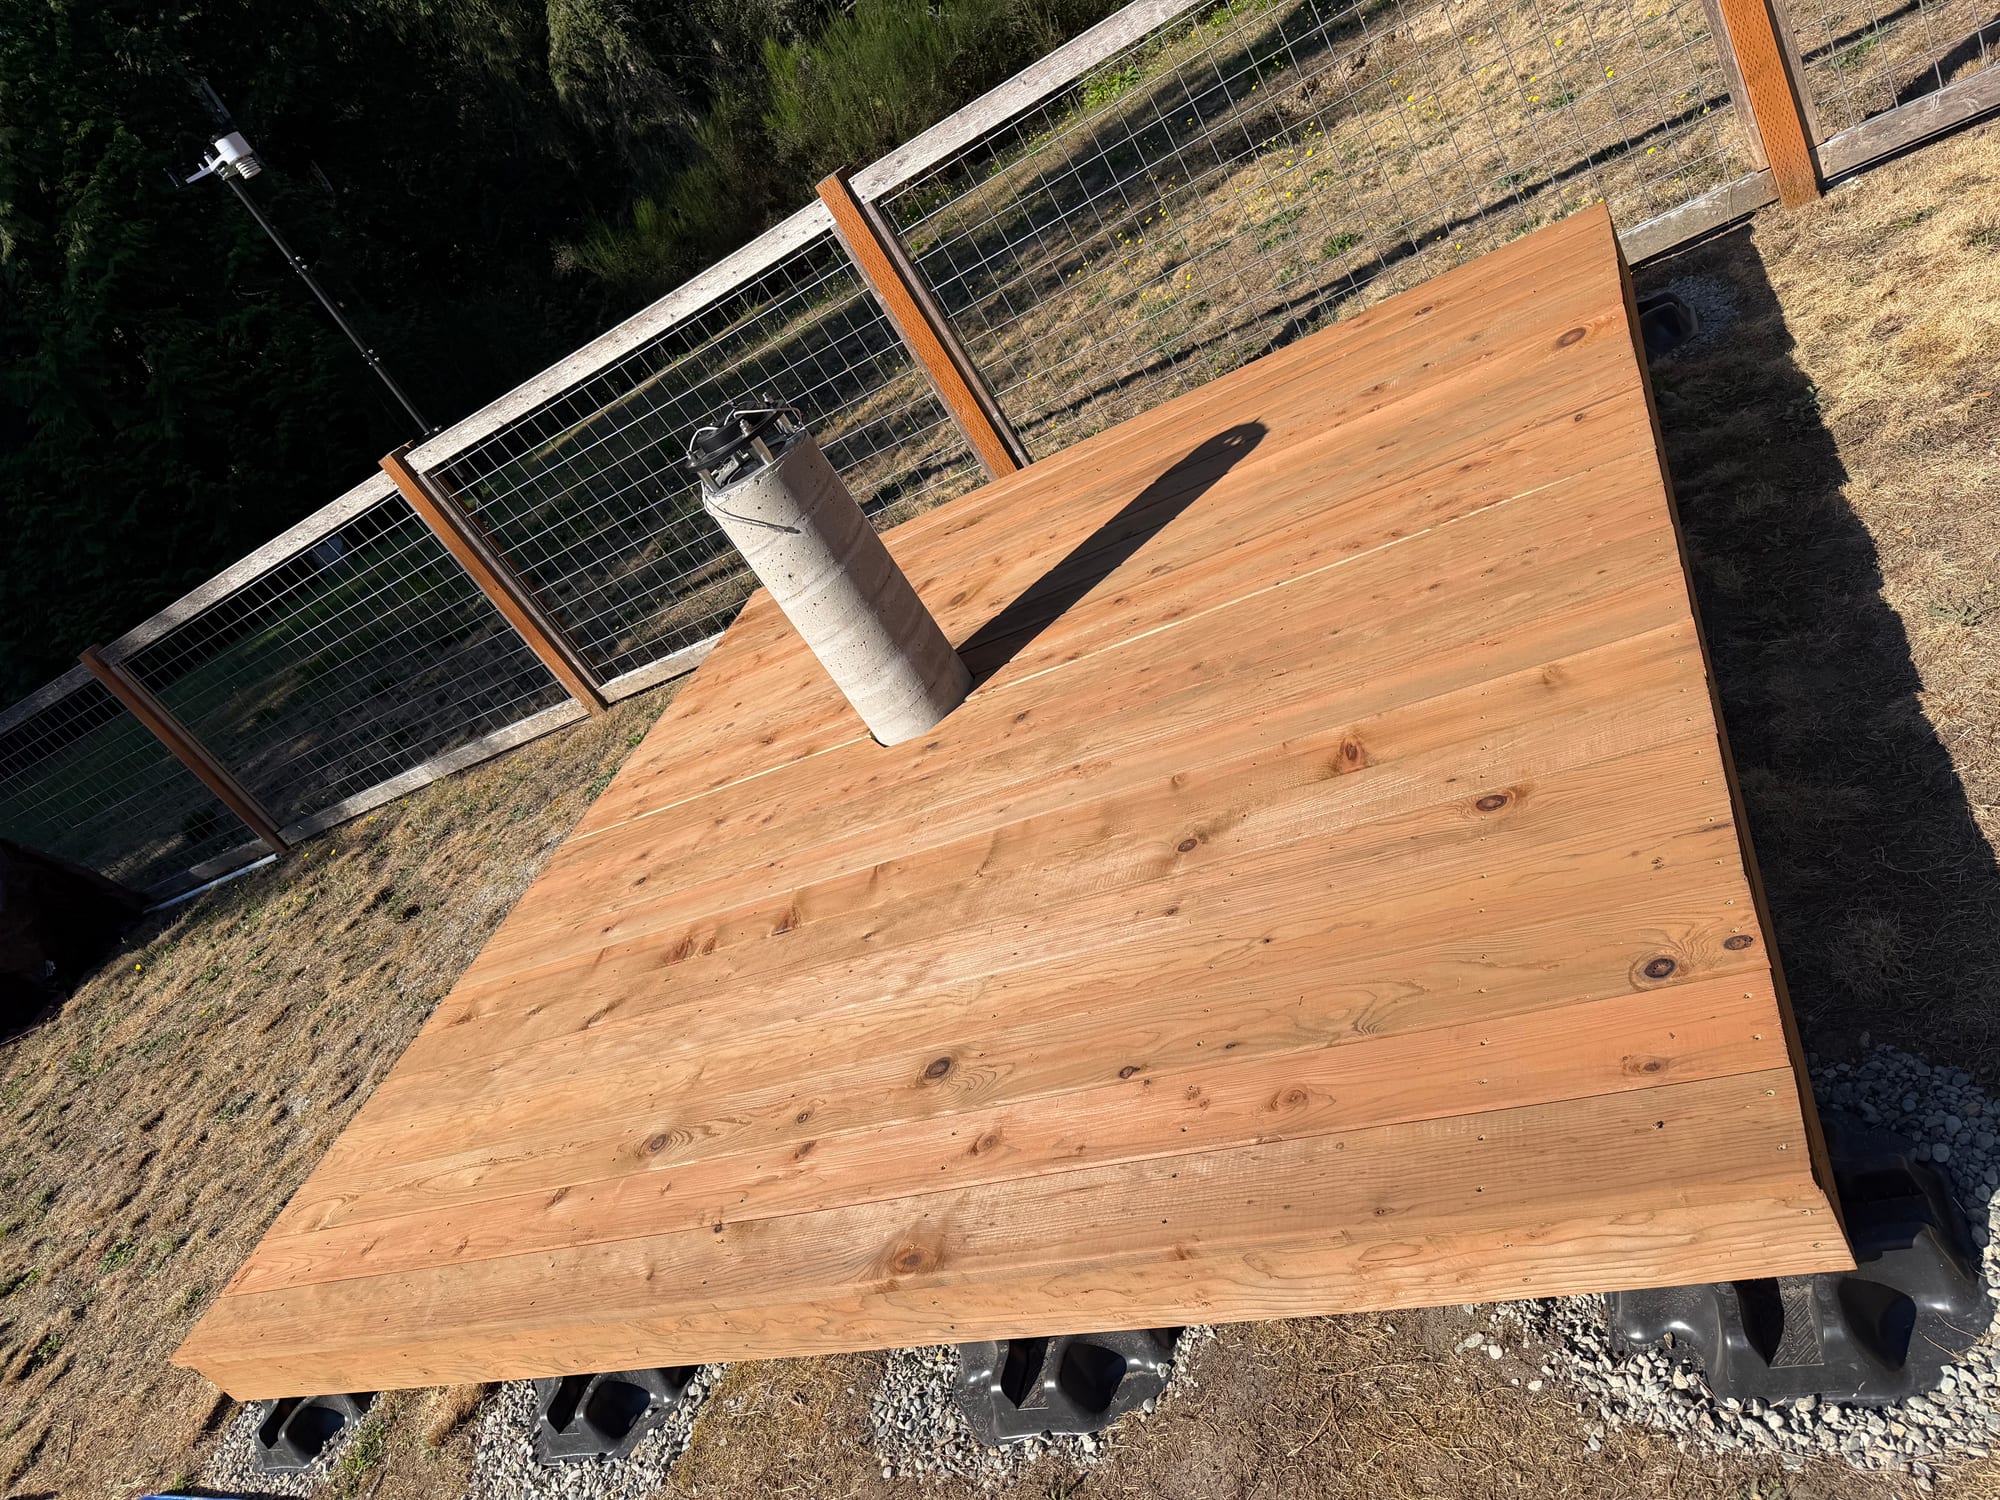
Crown and cup
Crown is the curve along the board's length. Sight down the edge like a rifle barrel; one edge reads as a shallow arch. Lay it arch-up so the screws pull it flat. Arch-down and the ends lift.
For decking this is the minor issue. Crown-up is a firm rule for joists, where load flattens the arch over a long span. Over 16″ the screws win regardless.
Cup is the curve across the width, visible in the end grain, and it matters more. A board laid hollow-side-up becomes a shallow trough holding standing water on every board, all winter. Look at the end of each board: if it is already cupped, lay it hollow-side down.
You may hear "bark side up" as a rule. It is contested and not worth following blindly — judging the cup actually in front of you beats predicting which way it might move.
Screws: the fourth answer was the right one
This took four attempts, and the wrong turns are instructive.
| Considered | Problem |
|---|---|
| #10 × 2½″ stainless | Fat shank splits 5/4 at board ends without pre-drilling |
| #7 × 2¼″ stainless | Thin stainless shank snaps heads in dense PT |
| GRK trim-head #8 | Trim head pulls through decking — wrong head entirely |
| GRK Deck Elite #9 × 2½″ | Correct |
What actually prevents splitting is not gauge — it is a type-17 (auger) point, a cutout at the tip that clears a channel instead of wedging fibers apart. Once you know to look for that, the choice is easy.
Deck Elite has the type-17 point, a proper deck head with real bearing area, a #9 shank between the two failure modes, 2½″ giving a full 1½″ bite into the joist, and a Climatek coating rated for ACQ treated lumber.
About 500 screws: 9 joists × 2 screws × 21 boards is 378, plus hatch and blocking. Set the driver clutch and let the point do the work; swap the bit when it gets sloppy.
The hatch
Deck straight over the pier opening as if it were not there, then cut it out afterward. Cutting after gives continuous board lines across the opening instead of a patch that does not line up.
Build it as a panel on a small sub-frame that drops onto the blocking, screwed and never nailed, and keep those screws in their own pile so it unscrews cleanly later.
The skirt needs a gap
Fascia first, then decking — the decking's 1″ overhang covers the fascia's top edge so there is no visible seam.
Stop the fascia 2″ above grade. This is the one that matters most on a deck this low. Wood touching soil wicks moisture continuously and rots from the bottom regardless of PT rating.
And do not seal the perimeter completely. A skirt all the way around with no airflow turns the space under a 12″ deck into a moisture trap — that is how joist undersides rot even when everything is ground-contact rated. The 2″ bottom gap reads as an intentional shadow line and is continuous ventilation.
What kills decks is not rain. It is trapped damp with no air movement.